
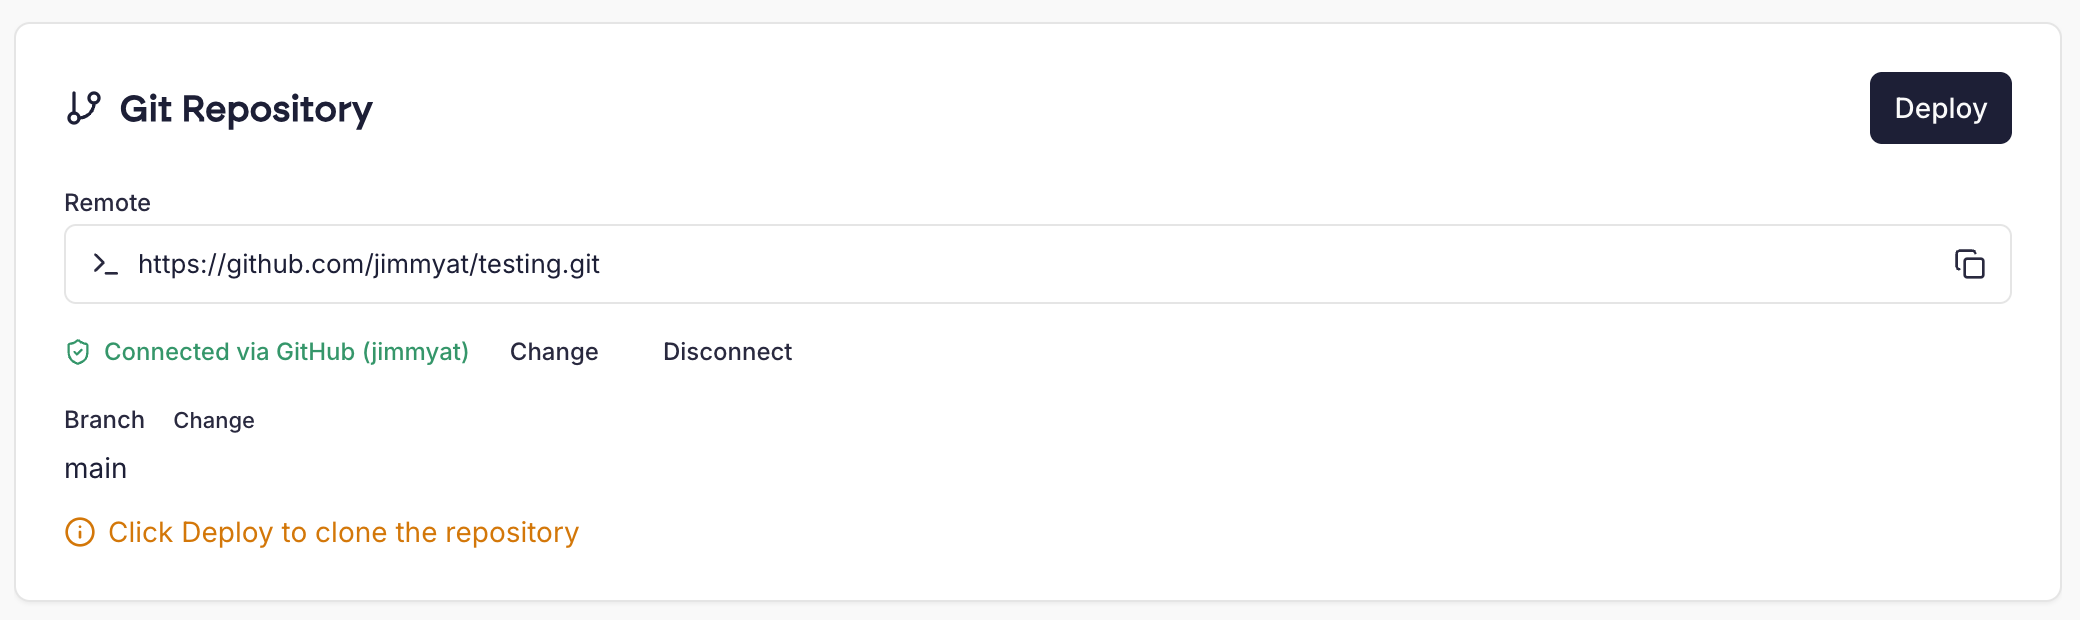
 You’ll be prompted to authorise Cito to connect to your github account or organisation. From there, you can select the repository to connect, as well as the branch. By default, we clone repositories to the Document root of your site. This applies even if you use a custom docroot. Laravel, Craft CMS and Magento sites are the exception: see where your code goes.
Once connected you’ll be able to view recent commits and click ‘Deploy latest’ to pull your changes automatically.
How ‘Deploy latest’ works
When you click ‘Deploy latest’, Cito:- Switches the site to the branch you selected, if it’s on a different one.
- Pulls the latest commits from that branch.
- Runs the install commands for your site type (see below).
- Runs
npm run build, if you’ve ticked ‘Run build after deploy’.
Install commands
Cito runs these commands as the site user after every deploy, including the first one:
The ‘Run build after deploy’ option is available for Node.js sites. It runs
npm run build, and is skipped if your package.json has no build script.
On Laravel sites,
php artisan migrate --force runs on every deploy, so new migrations are applied to your live database as soon as you deploy.Where your code goes
For most sites, the repository lives in the document root. The exceptions are site types where the web server serves a subfolder of the project:- Laravel and Craft CMS: the repository lives in the site’s home directory, and the document root is its
publicorwebfolder. - Magento: the repository lives in
public_html, and the document root ispublic_html/pub.
.env or auth.json, are kept.
How changes reach the live site
When the repository lives in the document root, Cito prepares each deploy in a hidden copy of the site (.deploy-staging in the home directory). It pulls, runs the install commands and the build there, then swaps the copy in for the live folder.
For Laravel, Craft CMS and Magento sites, Cito updates the live files directly. While the deploy runs, your site may briefly serve a mix of old and new code.
Node.js applications
‘Deploy latest’ doesn’t restart Node.js applications. Passenger keeps running the version already in memory until the app restarts, so after a deploy your site can serve old code, or a mix of old and new files (for example, missing assets). Restart your application after each deploy. See restarting a NodeJS application.When a deploy stops
Cito only applies changes that follow on from what’s already on the server. A deploy stops with an error if:- The branch’s history has been rewritten, for example by a force-push or a rebase.
- Files changed on the server conflict with the incoming changes.
git fetch followed by git reset --hard origin/<branch> matches the server to the remote branch, and discards any changes made on the server.
Changing the connected repository
CLI usage
Git is pre-installed by default to allow you to interact with repositories at Github, Bitbucket or other platforms. To do this you’ll need to log in via SSH. If you are using a CI system to deploy files to your website, you should ensure the credentials you use are that of the site, not theadmin user.
This ensures permissions are correct.
Document roots
The default document root on Cito servers ispublic_html inside your home directory. This can be changed via Site Settings if you need to.
SSH keys
You may need to add additional SSH keys to a site in order to allow external systems to connect. To do this, see SSH.Generating a new SSH keypair
If you wish to generate a new SSH key pair, you can do so by running the following SSH command. This is useful if you are working with private repositories and need to authenticate with Github or Bitbucket to clone them to your server. Be sure to do this as the site user you’re working with; if you generate a keypair asadmin you’ll need to then copy the keys to the relevant user.